Showing posts with label Holiday Fun. Show all posts

Wednesday, January 7, 2015

Christmas Decorations 2014

This year was a pretty exciting year to decorate. It was our first Christmas in our new house! I'm not a huge fan of knick-knacky decorations, but pre-lit garland and decorated trees are my jam. And you'll see them both in excess. Some more sneak peaks around the new house too if you are into that.

First up: the tree in my home office.  It's gold, it's rocking some lime and purple and iridescent white balls, and some purple snowflakes. I love looking past my monitors to see this guy all lit up sitting on top of our craigslist poker table find.


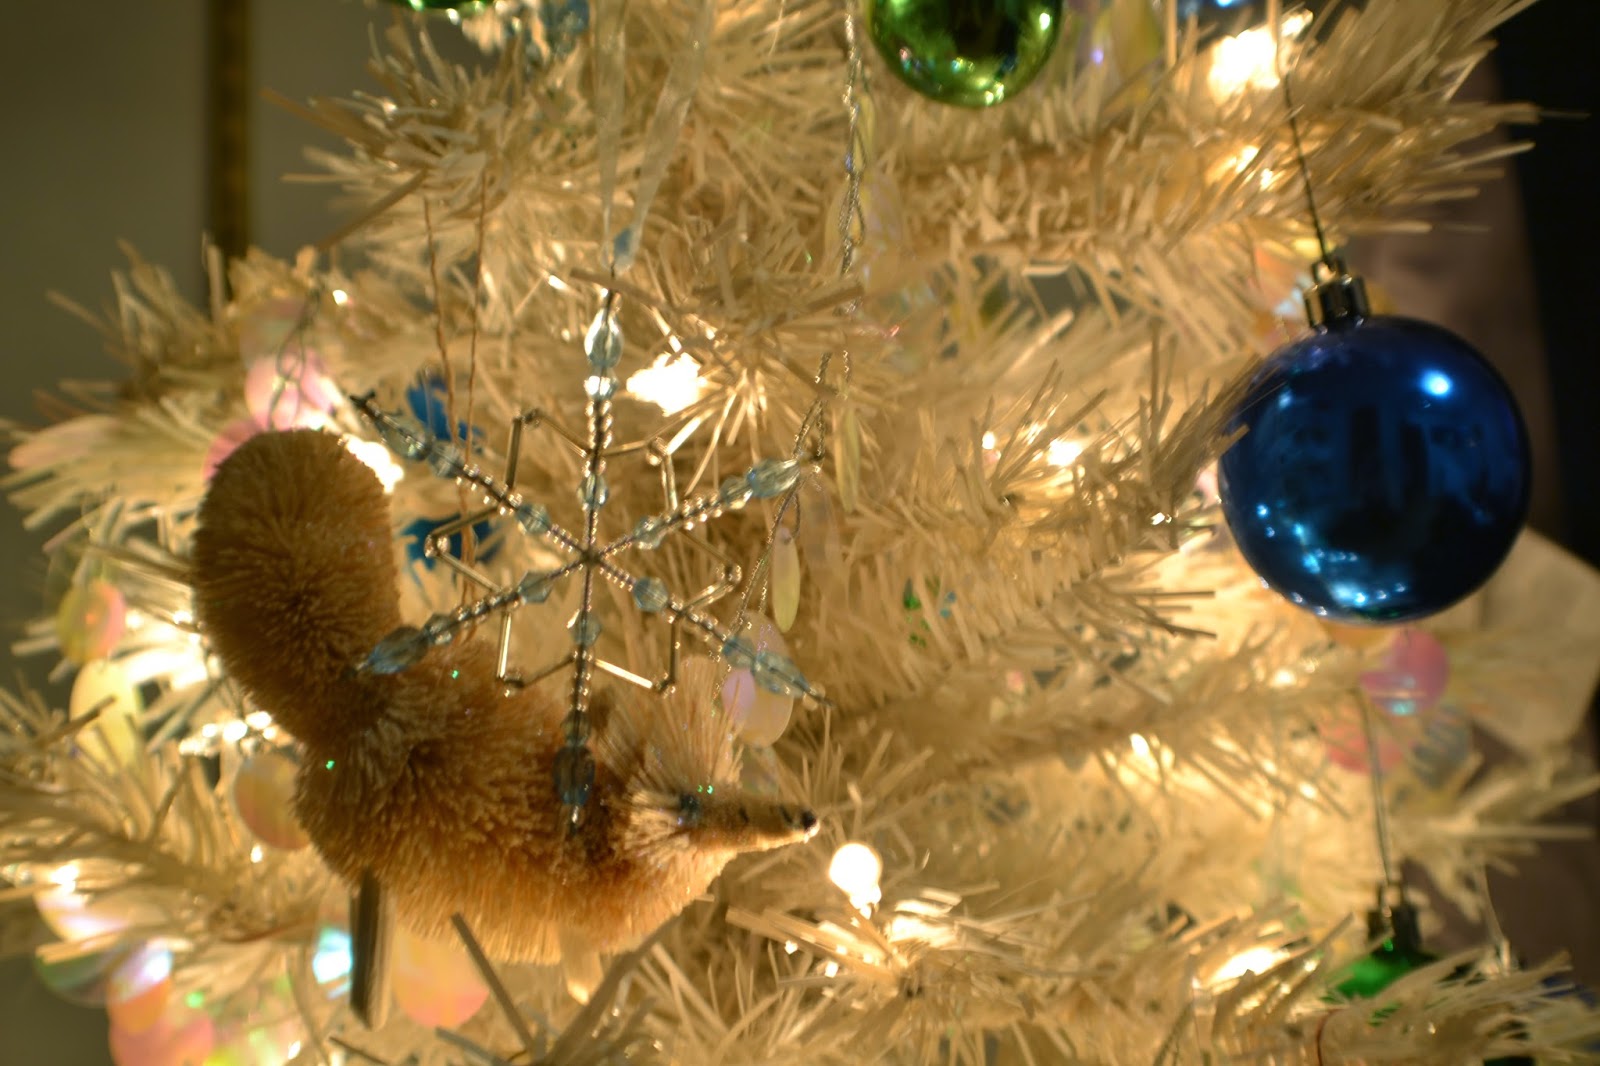
This white guy - you might recognize him from the dining room of our apartment, but this year he is hanging out in the Nursery.  Complete with emerald green and royal blue balls blue snowflakes, and some rustic little critters from Grandma.


I'm a little partial to our fake green tree in the family room.  We always had an assortment of traditional Scandinavian ornaments on our tree growing up but this guy is all Norway, all the way. Straw ornaments, Norwegian flags, and our Julenissen. We've even got our Fair Isle ornaments that we picked up in Oslo last year (November 2013).


There is more garland in this room - surrounding this huge window as well as our sliding glass doors to the back patio.  But I'll show you around the family room a little more in another post.

And of course, our REAL TREE in the living room.  In case you were wondering, no I did not realize that the top of this tree was seemingly chopped off when we picked it out, nor did I realize that it would look so short and stout in this room. And no, we don't own a star to make it look taller (it's called an illusion, Michael). But next year folks, next year! I will have a properly fitting tree for this room. Until then, I think this guy turned out just fine.  We've got the majority of our sentimental ornaments on this tree and I used gold and aqua to tie into some of the other furniture in the room. And yes. Lots and lots of pre-lit garland.


Can we talk about how ginormous those stockings are? They are beautiful (from Pottery Barn Kids), but I did not realize they would be this big. In a few years someone is going to expect to get these filled with toys, and Mama is not happy about this. He is going to have to settle for half (nay, two thirds!) of it to be stuffed with tissue paper. We will make up some story so he believes that is how it all works, I'm sure.


And some of our special ornaments from our trips  and significant happenings over the years are on our "real tree". This has become my favorite way to memorialize these vacations (and when I can't find actual ornaments, key chains become great ornaments and people are none the wiser except when you blab about on a public blog). In no particular order:

Read about it here.
My Tri-Kayla 30th Birthday/Cinqo De Kayla/Kentucky Derby Weekend in 2012
Our wedding.
I recently posted about our Honeymoon to South Africa here.
We went to a falconry on our second mini-honeymoon in Manchester VT
Duh.


Florida in 2010 
Vegas in 2013

Forgive me for indulging in listing out where our ornaments are all from - some day (probably too soon) I won't be able to remember what year we did what so it's nice to have it all in one spot.

Technically, I put up pre-lit garland on our front porch, however, there are no outlets outside so we've never been able to turn it on. After a few futile attempts to get electricity outside we have decided to wait to add an outlet when we redo the siding this coming spring. We are already tinkering with ideas for decorating outside the house next year, and let's just say Tom has already mentioned using his raspberry pi to match up lights and music. And you thought four Christmas trees was excessive.

Thursday, December 11, 2014

Mistle Toes Ornaments {Dare to DIY 2014 - Give Homemade }

Last weekend we kinda killed it with festive activities.  I found a shopping center that has all of my favorite big box stores to shop at and we knocked out all gifts on our winter wishes list from NewYorkCares.org.  We got a tree from Home Depot where we were recognized by workers (I guess we've been there a few times lately). And I finished decorating the house inside and out. If felt good to get so many tasks done since I had several days of commuting into Manhattan for meetings for work this week, and we are having a few friends over this weekend for a little holiday dinner.  And through it all, I even found time to make some handmade gifts for the grandparents. Spoiler Alert Grandmas: stop reading if you want to be surprised on Christmas morning!

I recall a few years ago a friend telling me one of the best things about having kids was that you had automatic gifts for the grandparents at every holiday - just give them something baby related and they will be happy.  So here ya go Grandmas, they aren't perfect, but they are made with baby love!


For this project you will need:


Ornaments (I found these flat-ish plastic ones at Michaels for $2.99 each)
Craft Paint (I did a little research on this - some sites said acrylic on skin isn't great in general, but tempura or washable paint would flake off of the ornament.  I did a little skin test on myself and had wet paper towels ready to clean him up within seconds of putting the paint on him. The sites that said acrylic wasn't a great idea were mostly talking about face painting where the paint would stay on for hours so I felt ok with it since it was literally on his skin for less than a minute. Do your own research to determine what you feel comfortable with. If you have tempura paint, maybe a sealant spray on top would help with flaking)
Flat Paintbrush
Paint Pens 
Wet paper towels or washcloths
Sleeping Baby
If a sleeping baby is not available, Extra Patience and Quick Hands


What was good about the acrylic paint on the plastic ornament is that it was forgiving for a few seconds.  I got two ornaments done before he woke up and then it was a little bit trickier to get a good smudge on the last ornaments so I was able to wipe the paint off and try again.  Working quickly is key here on many levels.  My kids does not like to get "got" so holding his foot was a challenge, even for a few seconds. 

I threw in some crinkle paper since the ornaments were see through, and if I get around to it, I might even tie a bow to the tops of these.  The possibilities are endless.

"Mistle Toes" was an easy play on words and great given his age and size of foot - but I'm really looking forward to making these cute finger snowmen in a few years when he is a bit bigger, which is the project that was my original inspiration and got the ol' gears turning.

I'm linking up on Maybe Matilda today!  Go check out the fun!


So what was the over/under for me coming back and joining in a second linky party?? Will I make it to the final party??? Don't fall off the edge of your seats, people.

Tuesday, December 2, 2014

Christmas Tree Napkins {or Dare to DIY 2014 - Entertain! Edition)

I've followed the Dare to DIY link parties for a few years. Last year I actually pulled myself away from the toilet (morning sickness lasts all day for some) long enough to make these painted cork placemats.  It was fun.

So I told myself last year I would join in at least two of the link parties this year.  Baby steps people, blogging on a regular basis is not my thing.  And when you are staring at primered walls, that you told yourself you would get painted by Thanksgiving, and there is an adorable 4 month old that is figuring out how to bring his tiny thumbs to his mouth, it's kinda hard to justify to yourself to sit and get crafty.  But I saw this video on FB and was reminded of how much I actually enjoyed the task of folding cloth napkins. I was a waitress at two different family owned resorts growing up, and I actually loved the task of folding napkins for dinner. I still find myself refolding cloth napkins when I'm at restaurants if their fold job isn't up to my standards. #formerwaitressproblems


So I thought, oh I'll go find some vintage tablecloths and make my own festive napkins for some dinner parties we are hosting in the coming weeks. Then I remembered I have no idea where to get vintage anything in my new town.  Seriously, WHERE ARE THE FLEA MARKETS AROUND HERE???  I found one antique shop that takes itself waaay too seriously with the pricing.  Someone, someone, tell me where I can find cheap used junk to make glorious again in central New Jersey please.

So then I thought, ok, I'll skip this link party. And then I thought, NO KAYLA JUST FOLD YOUR WHITE NAPKINS.  True, I didn't lug out the paint, the orbital sander, or the sewing machine for this project. I didn't even lug out the iron, and really, I should have at least done that.  But whatever. I still like them.

Feast for your eyes, people:


Can I make a table look sexy or what?


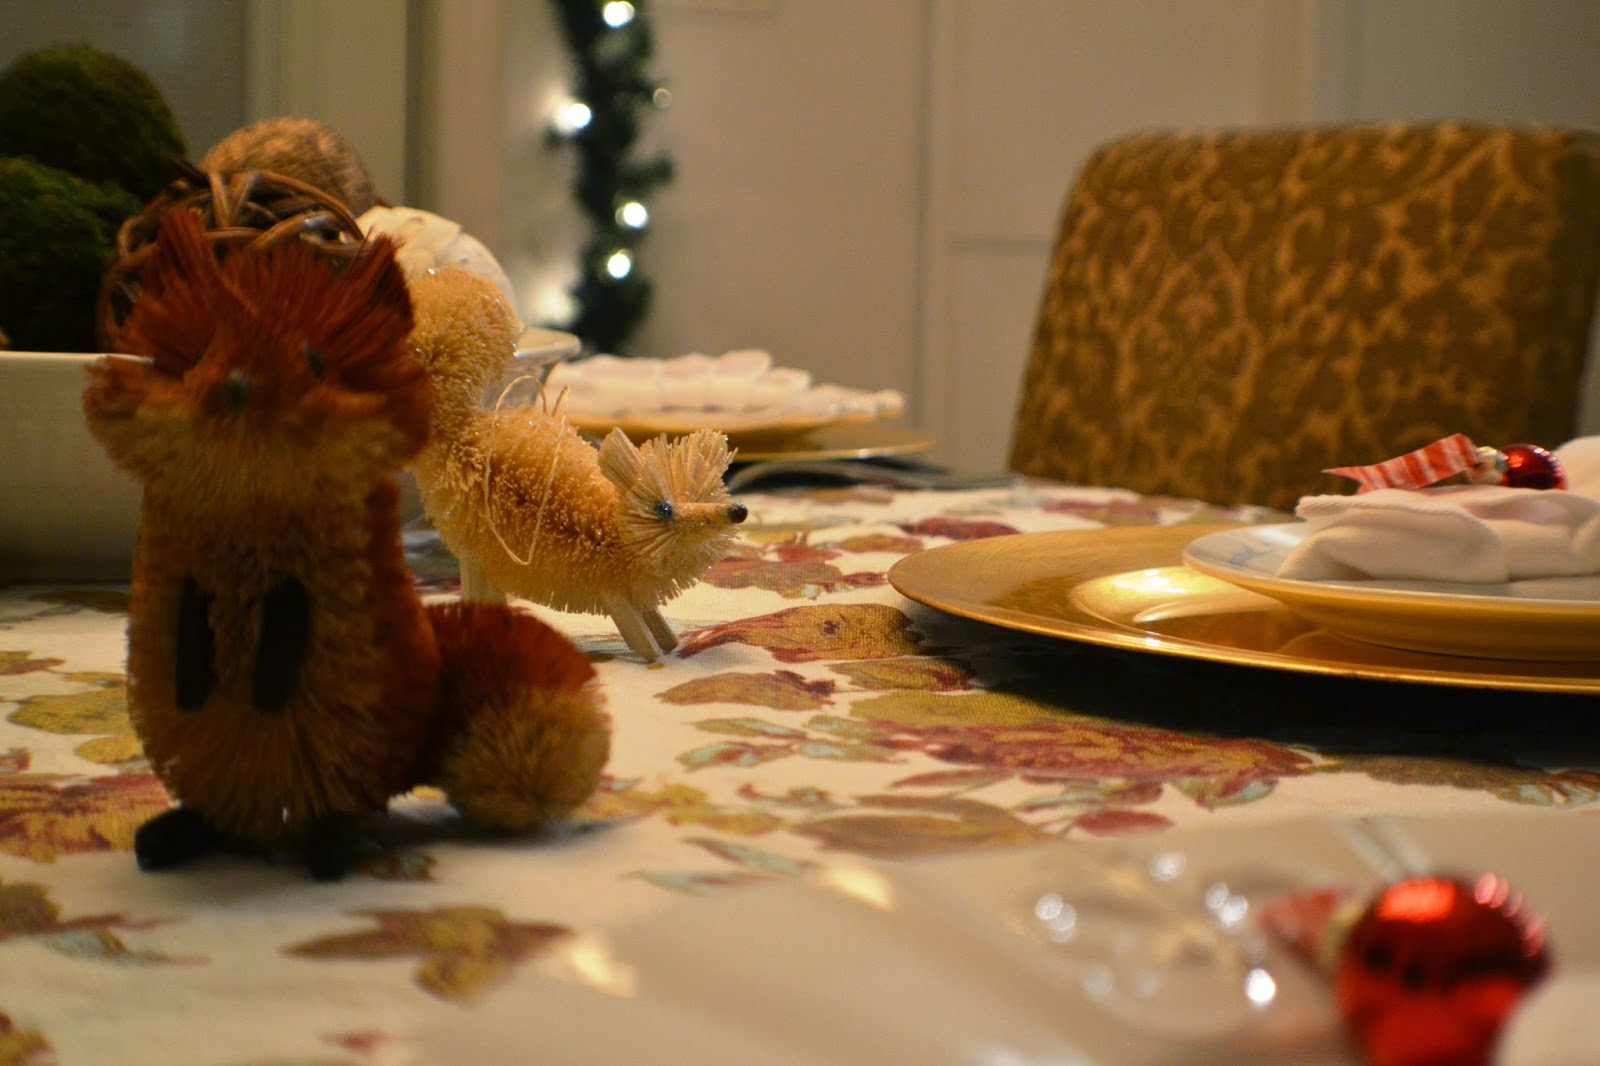
Blogger confession: I bought washi tape for the first time. I used it to make little place tag flags attached to little ornaments from the dollar store. Little woodland critters sent down by my mother and Boom. Tablescape is done, ya'll.


I'm still searching for that perfect vintage holiday tablecloth and napkin set.  But for now I still dig this burgandy/gold/aqua number.  It really pulls in the gold and aqua from around the room. The room that I'm not ready to show you until it's a little more "done". You know, like more than just primered (it's a real word, trust).  But I did put up some pre-lit garland!


I'll only gush about that chandelier for a minute - but it's literally the first thing we bought after we bought the  house. It is hands down my favorite piece we added. Tom knew a lighting guy and we got it for a steal which was the only way we were actually going to get that thing into our house. I'll give you a real breakdown of the dining room/living room/kitchen soon enough (translation: before the end of 2015).


Kitchen teaser. Yup, that's an antique rug from ebay in my kitchen. I'm so en trend. And that is my Stokke Steps high chair.  Hands down, best money we spent on a single baby item (even though its really like 4 items).  I love that thing and so does the little one.

And here's that napkin folding video. Looks like there a couple versions on youtube, but this is the one that gave me the idea in the first place:


And if you are here from Decor and the Dog - welcome!  If not, check out the other party animals here to see what everyone came up with! Will I meet my personal goal and come back for a second link party in the next two weeks? ONLY TIME WILL TELL.

Monday, December 2, 2013

Painted Cork Placemats {or Dare to DIY - Entertain! Edition}


Linky parties are seriously my fav.  It's a nice kick in the butt to actually do some of the crafts that I've been dreaming about - not to mention a good excuse to clean the house enough so that I can take photos.  I'm linking up to Maybe Matilda today - go check it out to see what Rachel and everyone else has posted!  And remember, half the fun of a linky party is meeting new blogs! And if you're here from the linky party, Welcome!


This past weekend I got out our bins of holiday decor and spent the long weekend cleaning and getting jolly with it, and also had some time to do a little Small Business Saturday shopping.  I'm making it a personal goal this season to either make gifts, buy handmade, or buy from small businesses.  I figure I spend enough money at all the big box stores year round, and it's a fun challenge for myself.

Of course while I was out getting gifts for others, I got a few for myself at the local art supplies store. I'm so good to myself. The first was a wood burner and I was this close to purchasing the whittling tools that were in the same aisle.  I have no idea how to use either, but for some reason when I'm in an art supplies store, I suddenly picture myself having a life where I would have time to sit and whittle.  

Anyway, wood burner, check. I also picked up a roll of cork.  I had recently seen these placemats at C&B and these placemats at Ikea.  Both were honestly pretty reasonably priced, but for some reason, I always look at items like this and think - I can do that!  So do that I did.


I started by cutting my cork into 13 1/2" x 18" mats.  Unfortunately, I was only able to eek out three from one roll, so I'll have to buy more this week.  I'll eventually make trivets and/or coasters from the scraps (which will make great gifts!).   I placed some books on them over night to try to flatten the cork out. You'll see they weren't quite flat when I started painting, but I'm impatient. 

The next day I took my ruler and just started attaching lines into what I consider to be very modern trees.  I cut these shapes out and took care to keep the trees intact.


Then I got to spray painting.  I went with my go-to white and gold sprays - but I really think these would've popped with some traditional red and green.  The next mats will definitely get some of that. 
I tried a few different methods with my  handmade stencil, but this would work great with any store bought stencil. 

First I sprayed over the stencil very lightly with white, then I laid my cut trees on top, but just ever so slightly to the side.  I was going for a shadow outline around the edge of each tree.  I sprayed my gold lightly over it next.


Not bad, but definitely had some seepage. The actually force of the spray moved the paper more than I anticipated. I would definitely suggest using some re-positioning adhesive spray if you try this. 

Next up: a heavier coverage of the white first, and then I shifted the stencil itself ever so slightly, and gave it a heavier coverage with the gold.  I like this one a lot, but the gold is almost too close to the color of the cork.  This could be great if I were using some geometric shape and I wanted a tone on tone look.


Last up - a reverse of the last method: a heavier coverage of the gold first, and then I shifted the stencil itself ever so slightly, and gave it a heavier coverage with the white. This ended up being my favorite of the three...


Now the fun part - setting the faux table!  I decided to go with a green, red, white and gold theme in my dining room this year.  Sometimes it's nice to go super traditional in your holiday decor. Yes, white trees are super traditional if you speak to the right people.  


Love how the tree branches just peek out from behind the chargers.


Oh, you want a gratuitous shot of the tree lit up in the dark? Of course you do!


Doing anything special to entertain your guests this holiday season? We don't have any plans to host any guests so far this year, but I'm sure someone will pop over at some point.  Even if no one comes over, I still totally enjoy seeing the all house dressed up!  


And the cats like helping too, of course.


If you're here from Maybe Matilda, thanks for stopping by!  If not, go to her blog and check out some of the other projects linked up today!